Installation Guide
Download Installation Guide
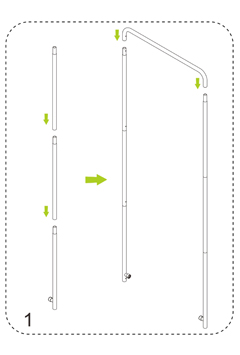
1. To connect all the aluminium tubes according to the numbering
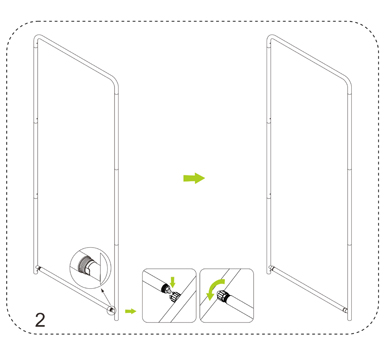
2. Using the big plastic screw parts to fasten the bottom cross bar
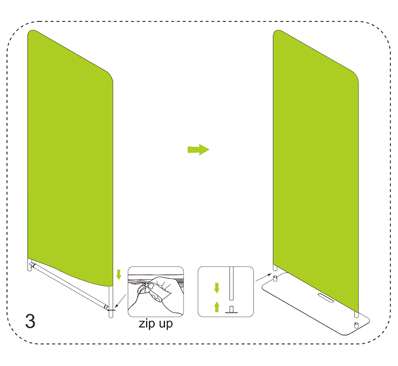
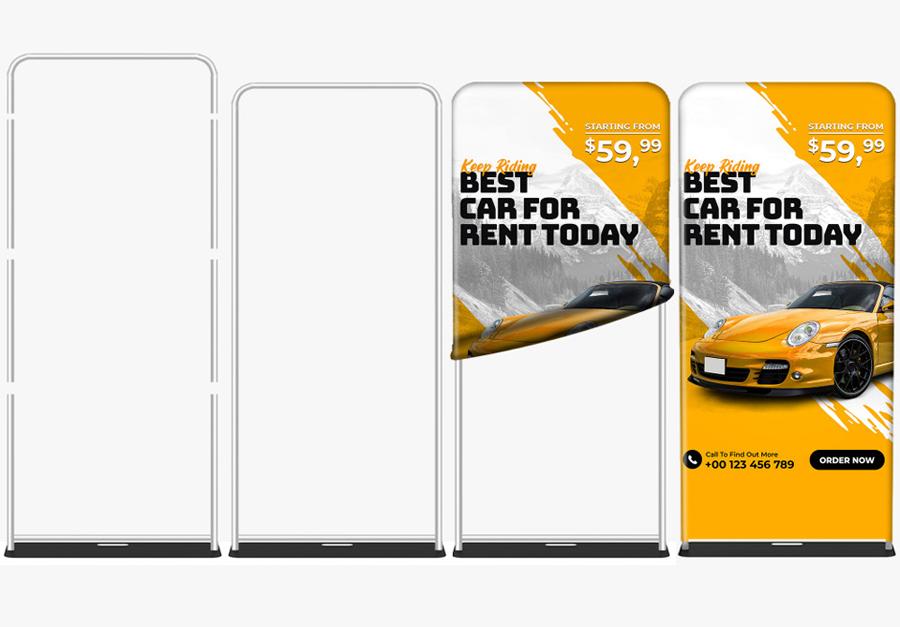
3. To wrap the fabric banner on the frame and zip up, afterwards install whole display stand to the base.
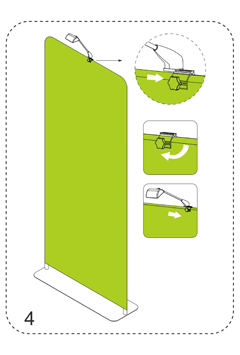
4. To install the lights clips to the top of display stand and fasten by screw, then slip the lights in position
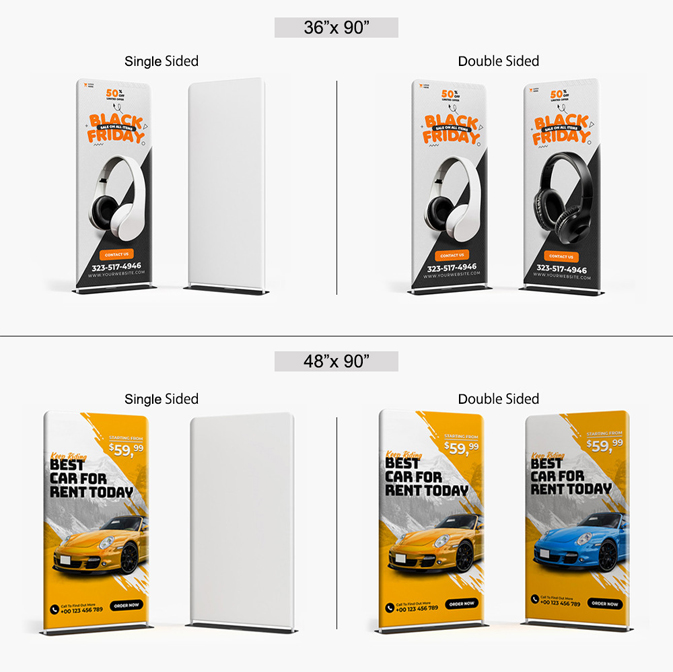
Suitable for all inside marketing purposes.
Graphic Details:
- Single or Double Sided pillowcase graphics
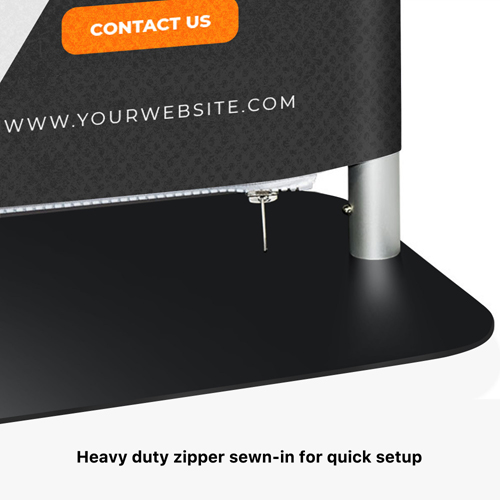
- Zipper closure on bottom of graphic
Hardware:
- Interlocking aluminum tube frame
- Heavy duty steel base plate
Accesories:
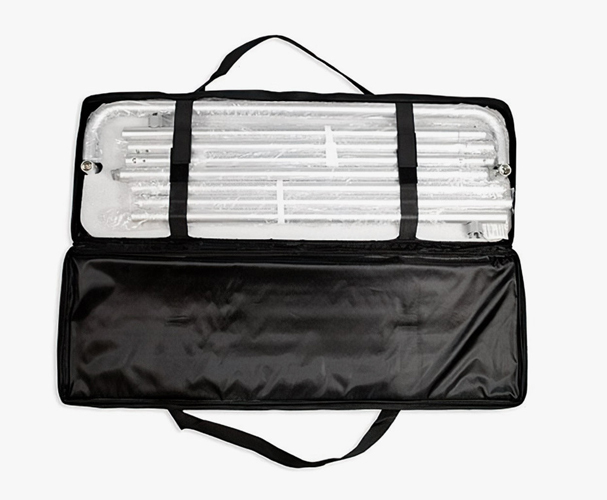
- Complimentary carry case
- LED Lights (optional)

Quick assembly aluminum frame construction
Commonly used in the field of visual marketing and trade shows.
Hardware:
- Interlocking aluminum tube frame
- Heavy duty steel base plate
Accesories:
- Complimentary carry case included
- LED Lights (optional)
Heavy duty steel base plate.
Hardware:
- Interlocking aluminum tube frame
- Heavy duty steel base plate
Accesories:
- Complimentary carry case included
- LED Lights (optional)
Complimentary carry case.

L.E.D. lights
This set of 2 LED Lights compatible with all of our trade show displays. Great lighting is a necessity in an effective trade show booth, it allows you to direct the eyes of onlookers to your high-resolution display graphic.
IMPORTANT: The tension fabric displays are meant to hold only two LED lights. The two C-clamps required to mount the LED lights to our tension fabric displays are included with every display hardware we ship..
Template User Guide
For assistance or inquiries, PLEASE CONTACT US
Design Apps
- Use industry-standard graphic design applications for best compatibility.
- Recommended applications:
- Adobe Illustrator (for PDF templates)
- Adobe Photoshop (for PSD templates)
- Corel Draw (for CDR templates)
- Designs from other applications should be submitted in JPEG format to ensure consistency.
Design Checklist:
- Design on the "Artwork" layer or create a new layer above the template.
- Once you've finalized the design, remove all template layers, leaving only your artwork.
- Flatten all gradients and transparencies and outline all text.
- Ensure that all template layers are deleted.
- Upload file is a single page PDF or JPG file @ 150dpi.
- If printing DTF, upload a PNG file.
Helpful Template Tips
- Use our template as a guideline for logo and graphic element placement.
- Our materials are white; any non-design areas will remain white.
- For Advertising Flags, maintain a minimum 2-inch margin from all edges to ensure text visibility.
Helpful Template Tips
- Use our template as a guideline for logo and graphic element placement.
- Our materials are white; any non-design areas will remain white.
- For Advertising Flags, maintain a minimum 2-inch margin from all edges to ensure text visibility.
Print-ready Checklist:
- PDF Files: Must be flattened and all text outlined.
- Submit files as a Flattened PDF (Single Page) or JPEG only, without crop marks or bleed.
- For custom-sized products, ensure your graphic matches the product dimensions exactly.
- For template-based products, the dimensions must match the provided template exactly, not just the graphic area.
- Use CMYK color mode; Pantone or RGB colors may lead to inaccuracies.
- Submit files at 150 DPI, with a maximum file size of 300 MB. Graphics over 200" can be scaled accordingly.
Back
To Top